Welcome to the company.
This page is a live document. It will be updated over time and will contain various instructions designed to help users onboard and set-up most important company software with ease.
Email setup
After you received your account credentials on onboarding in order to sign in you will start form gmail login page.
Visit https://accounts.google.com to start the process.
Type your email address and press Next (initial email address will be name.lastname@opscoredigital.com unless requested differently by manager or HoD)
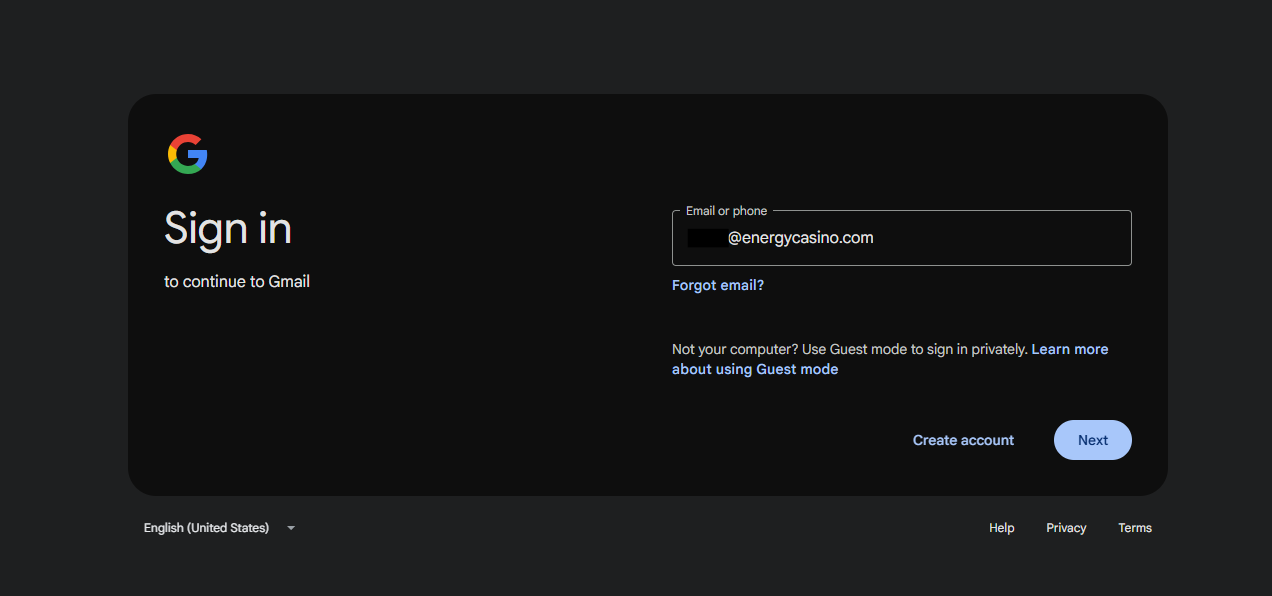
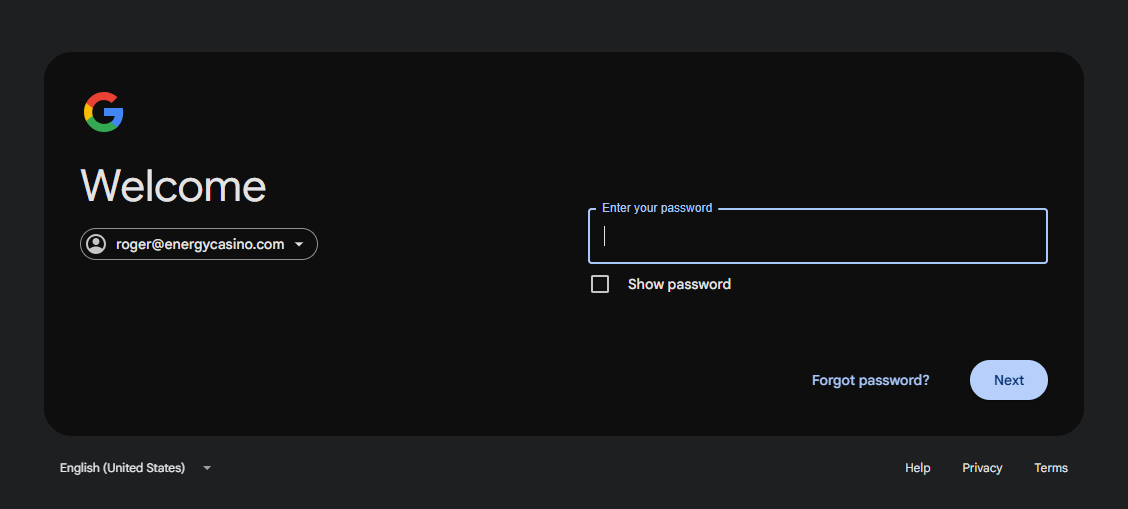
Type the password provided on onboarding paper (or provided by line manager or HoD)
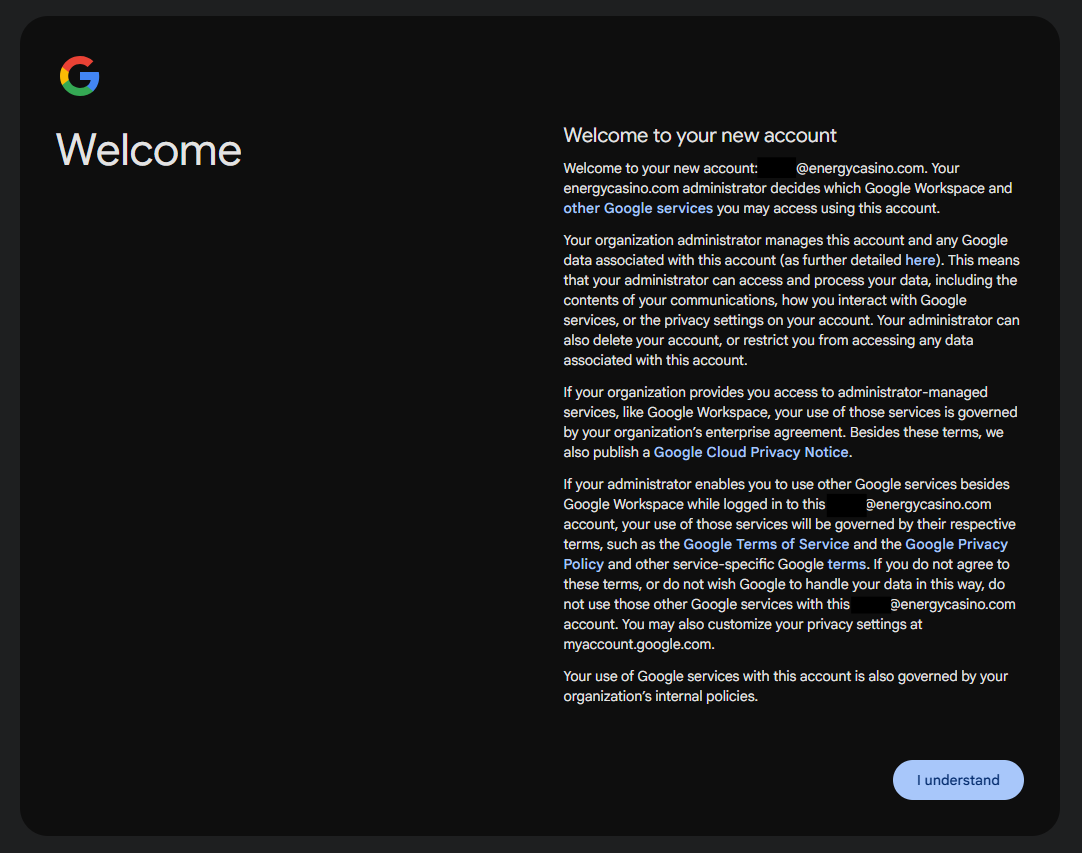
You will see generic page with some basic ToS. Click on I understand
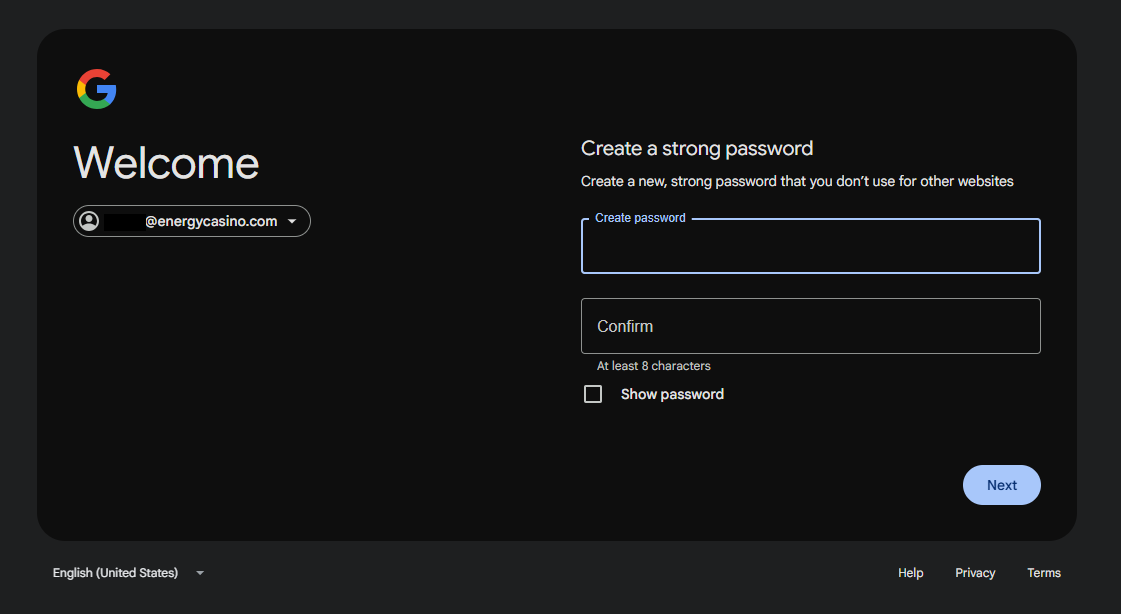
Password you received is just temporary allowing you to start setup process. Assign new password - you will be required to setup strong pass so at least 3 different characters are needed (capital letter, letter and number for example) and at least 8 characters long
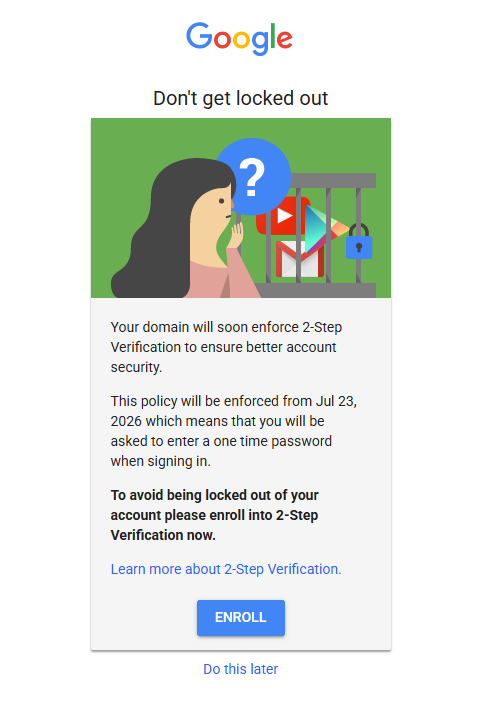
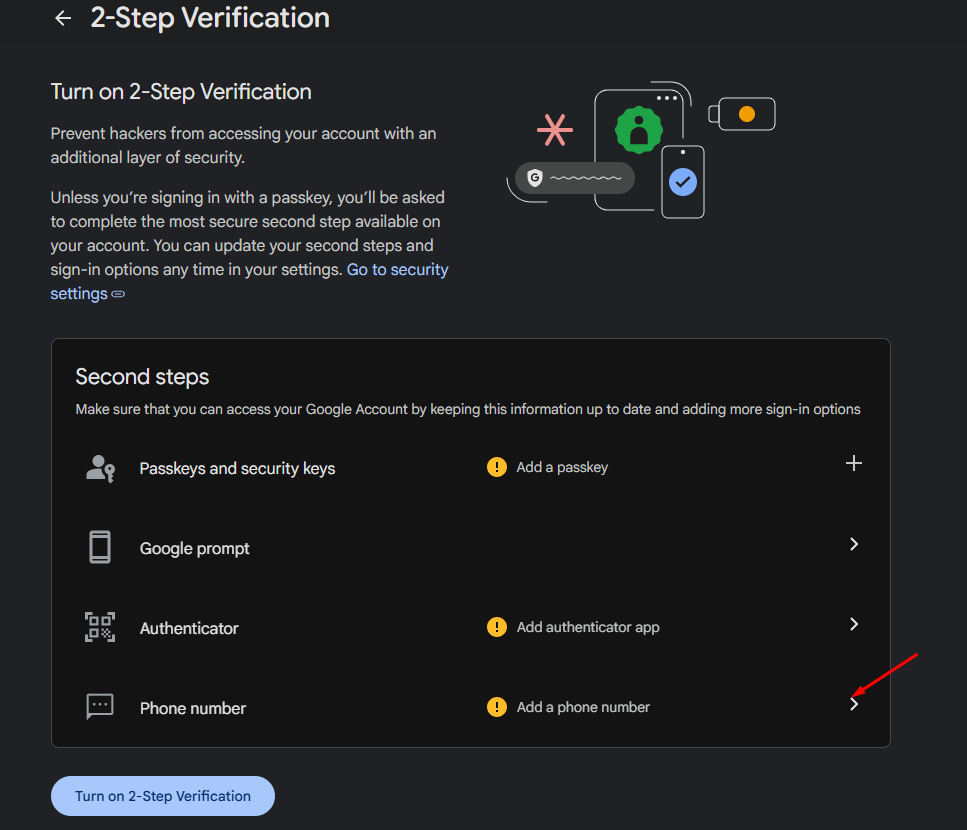
Next window will allow you to start the setup. Mobile phone is considered as primary and even though you can go around this and setup authenticator codes its safer to set up the number before doing anything else. Click on Add a phone number to proceed
Click on + Add phone number…
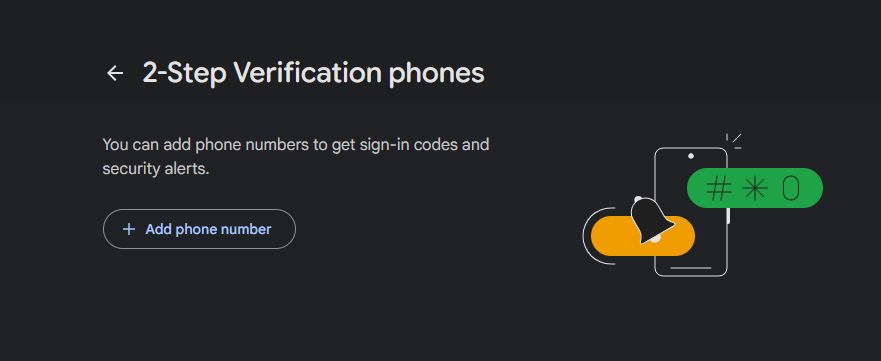
…and type it
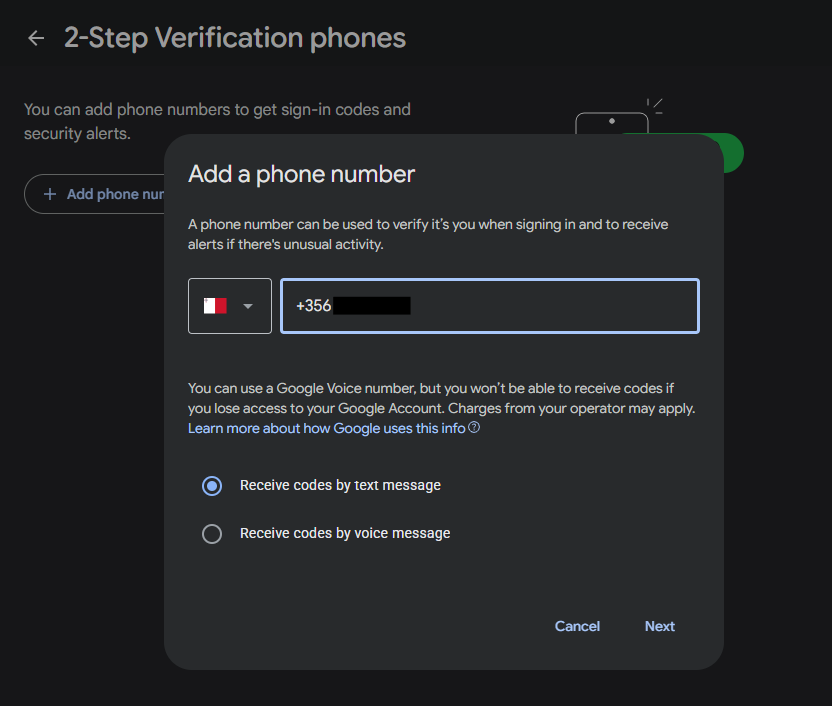
Confirm and click on Save
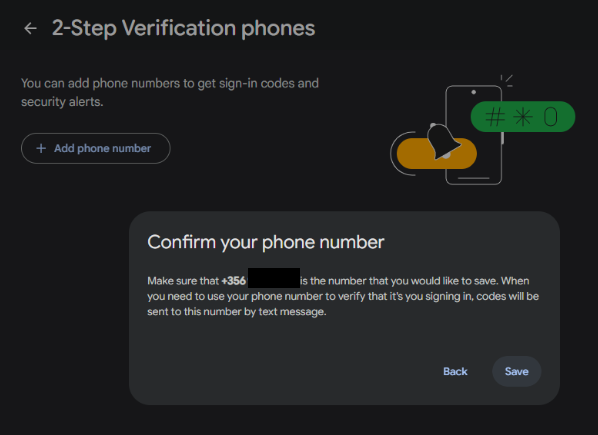
Phone number is added, you can go back
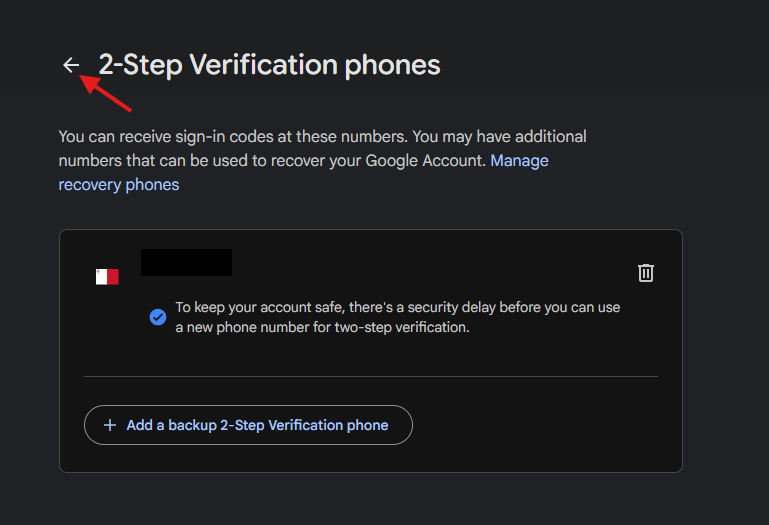
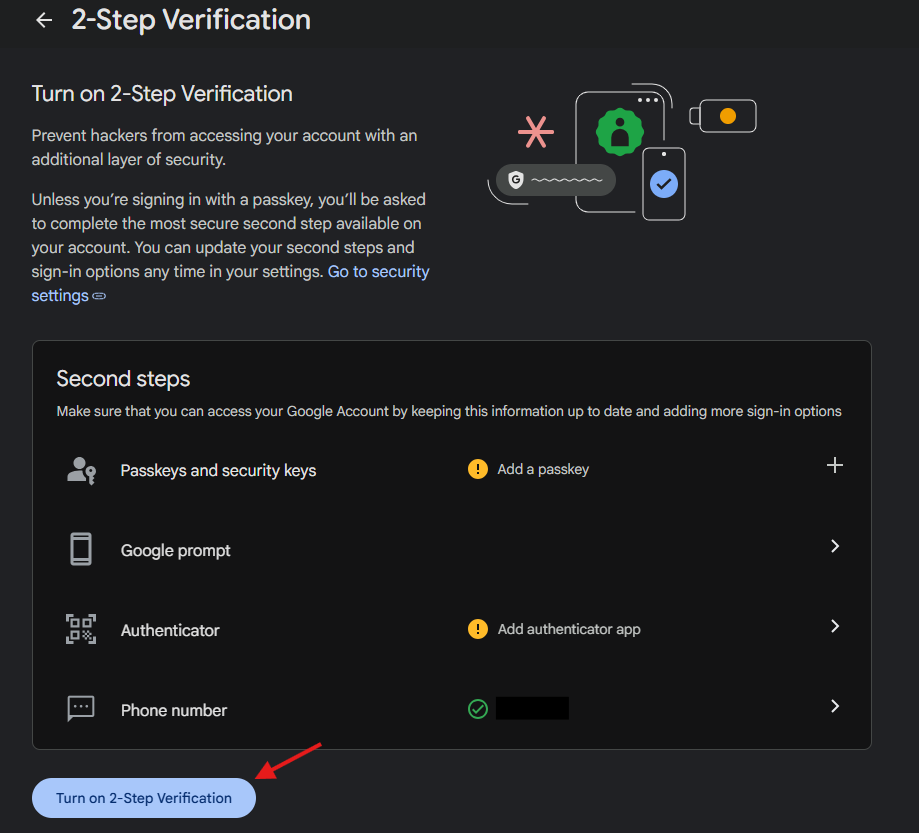
You will get notification that MFA is enabled on phone number you entered
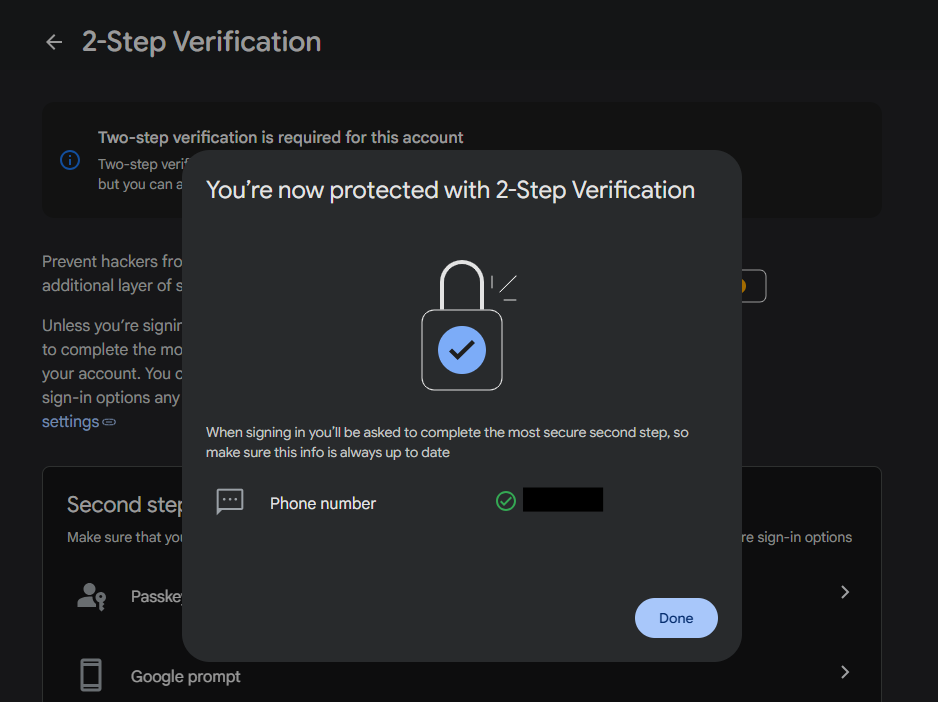
After primary protection was set up you are free to add any other way of authentication if you want (some are much simpler than SMS).
Passkey will create a hardware related signature
Google prompt can be set only after you sign in on your mobile device. By setting a prompt you will approve signing using a mobile phone itself (phone number is not important in this case).
Back to top ↑Slack setup
Invitations for most of the company services will be sent to your email. In almost all cases you will just have to follow the link in the email and set up your account.
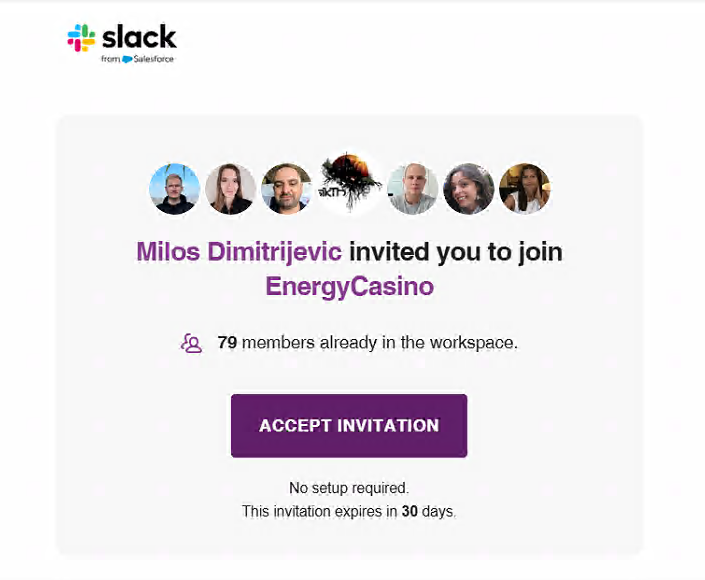
Open your email and find Slack invitation message (if you are invited to BF slack, name of the person inviting will be different). Click on the email

Inside the email click on Accept invitation
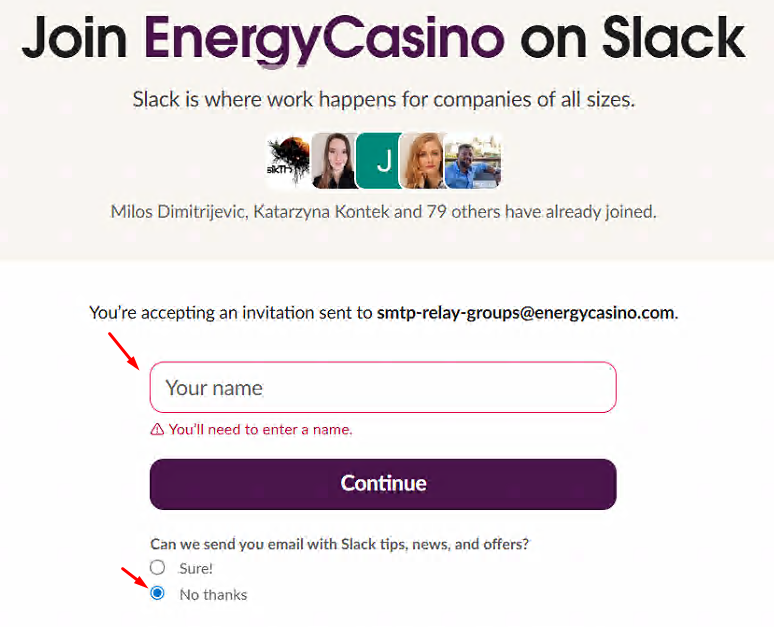
Type your name, tick No on the question below and click on Continue
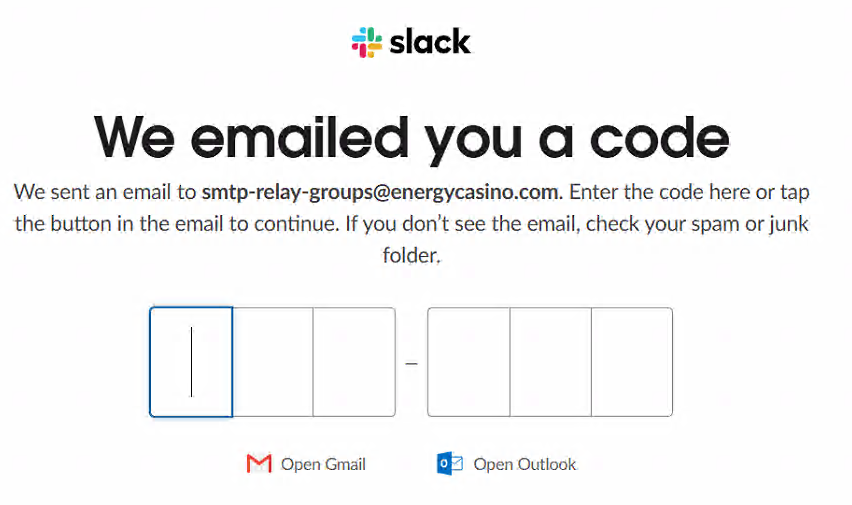
Slack emailed a 6 character code to your mail address so back to your email, and copy the code you received and paste it into the field

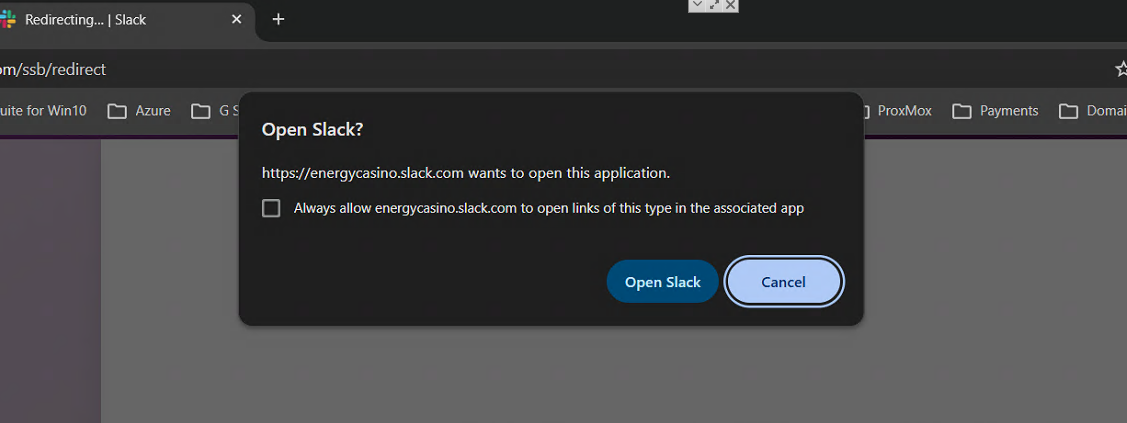
Popup will open after a few seconds asking you to open the app itself. Click on Open Slack
KeePass setup
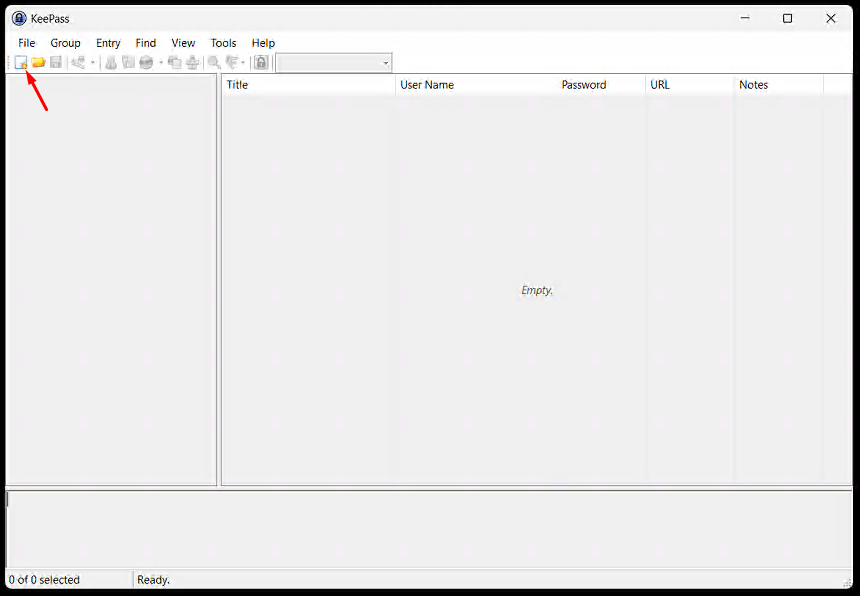
Keepass is installed on every company laptop with icon on the desktop. In order to start the setup first open the program itself. Skip initial setup (check for new version etc) until you reach the software page itself.
Click on New Database
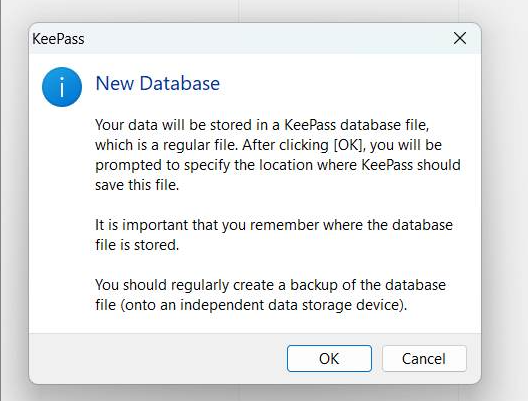
Click on OK
Name the database and select where you want to save it (My Documents is default location and default name is Database.kdbx).
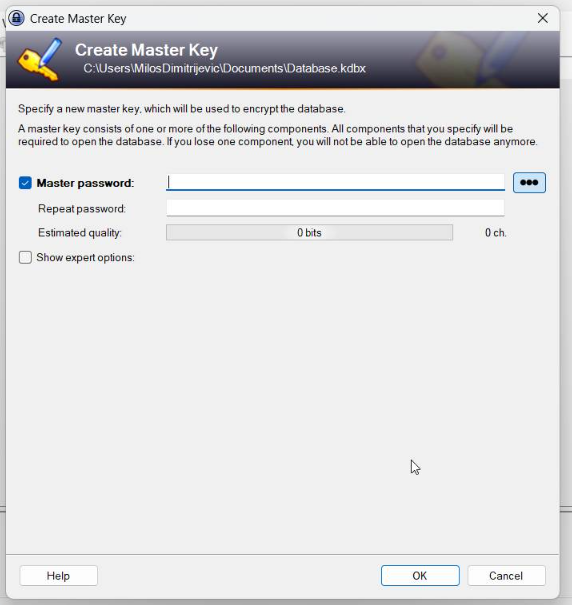
Select database name and click OK
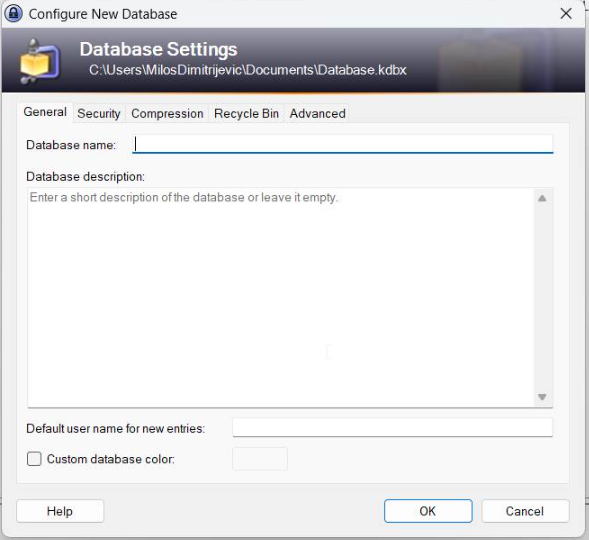
On the next page you will have ability to print Emergency Sheet containing master password. Its up to you, print or skip (keep the printed page somewhere safe if you decided to print - hard copy in the drawer or PDF on google cloud
You now reached main page and you will have 2 example passwords. You can delete by right-clicking on individual entries and selecting Delete Entry
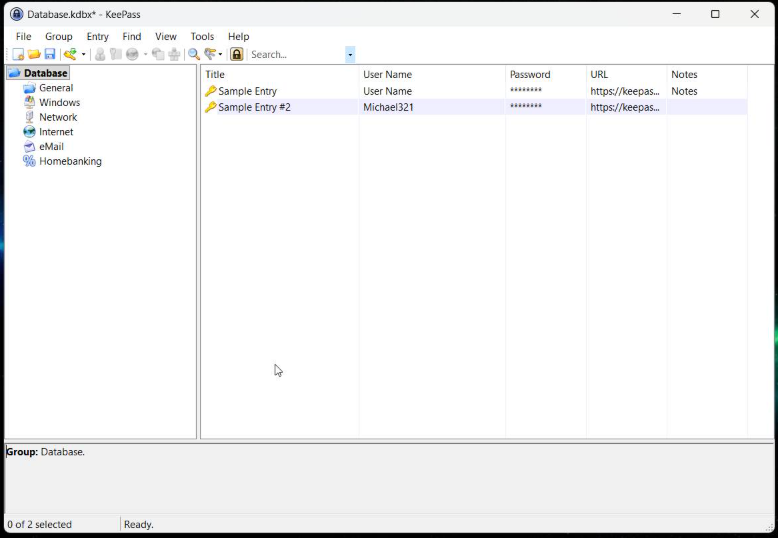
In order to create entries click on the blank area of the software and select Add Entry…
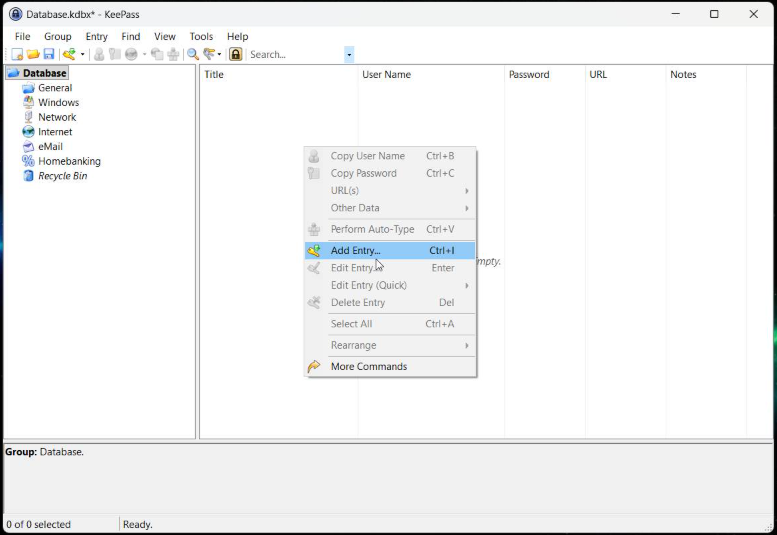
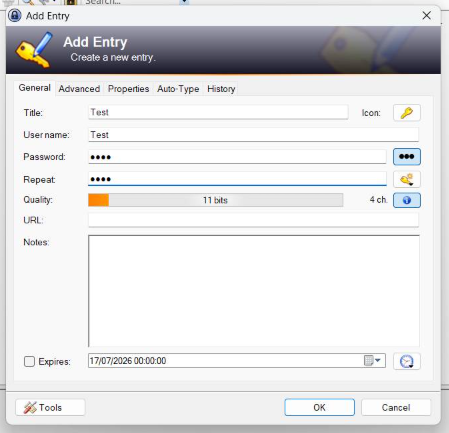
Type
Title - Name of the entry
Username - Username
Password and repeat - password for the service and retype
URL - link to the page itself (gmail for example)
And press OK
Entry will appear in the software. In order to get the data you will right click on the entry and copy desired value (url, username or pass)
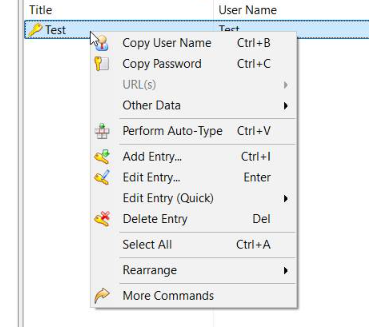
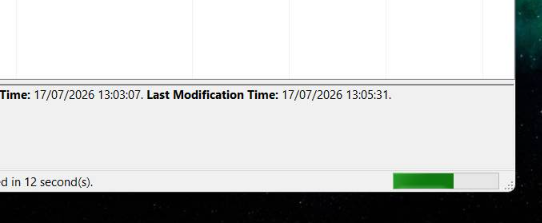
Once you click on copy (any value) you will have some time before the copy command expires (in bottom right corner of the software you will have green slider slowly draining to the left. Once it reaches left side you wont be able to paste what you copied since software dropped the copied text
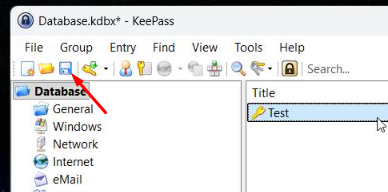
After you finished populating software do not forget to save the database by clicking Save in the top left corner